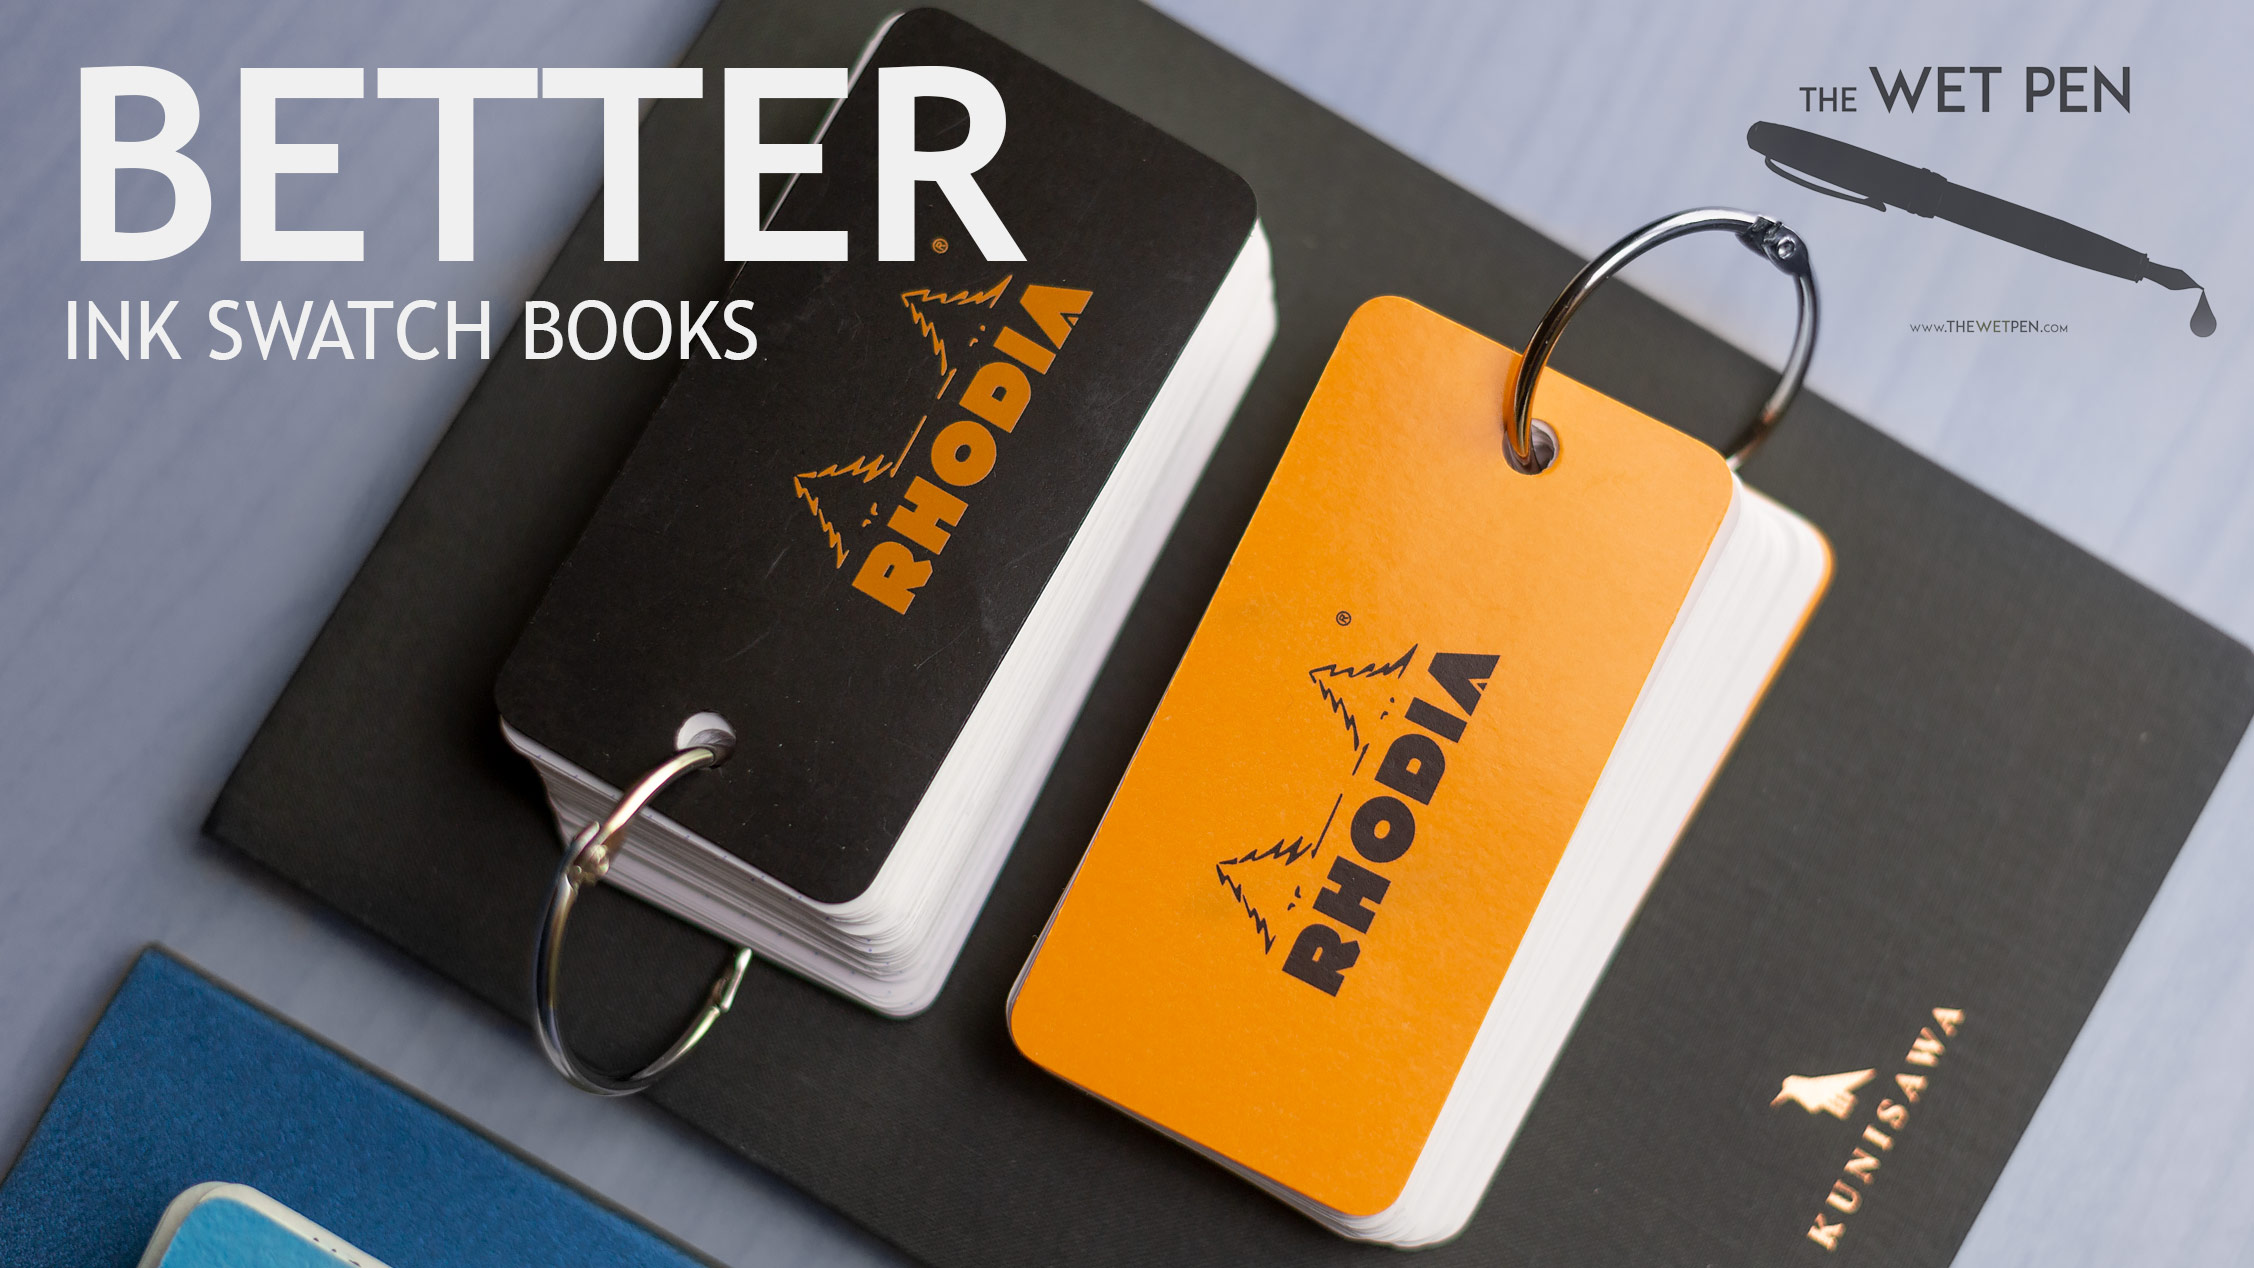
It took me about six months to fill up my first Col-O-Ring booklet. I don’t know if that’s slow or fast in this community, but it was faster than I expected. Somehow, though, I thought that my collection had grown to the point that I wouldn’t need to buy many more inks, so I hatched a plan to just add a few more blank pages to my notebook, rather than buying a new one.
This plan was patently absurd. I realize that now. It was, however, the genesis of this project, and I learned a good deal from it. To begin with, I tracked down the perfect paper for adding new, blank pages to a Col-O-Ring: it’s Canson Bristol 100lb. smooth paper, which is sold in a variety of sizes, but the 12 x 9 is nearly perfect, since 12″ is long enough to get three full swatch pages if you’re making them the official Col-O-Ring size of 2 x 4 inches.
That’s how I started out: I made extra pages until my Colo-O-Ring was just about ready to burst from being over-stuffed.

Eventually, though, I realized that for my own purposes it makes more sense to swab ink on papers that I frequently write on: Rhodia, Tomoe River, Clairefontaine, and HP printer paper. Now, I swab new inks on each of these pads and can quickly compare them when I am so inclined.
Construction
Construction of these pads is as simple as you’d think. It begins by cutting the favored paper into strips that are 2 inches wide, and then trimming them to length at four inches. I initially did this with a metal ruler and a utility knife, but then decided to pick up a cheap paper-cutter ($10) to make things simpler. To make it easier and more repeatable, I taped down a couple of nickels to the paper cutter to act as a fence at two inches from the cut-path.
In order to round the corners, I used one of these Japanese corner rounders (at the medium size). It works nicely with a few sheets of most papers at once, though mine only manages one or two sheets of the Canson Bristol at a time.
Finally, I use a single side of a double hole punch to do that job. My hole punch handles ten or more sheets of paper at once, which makes the job surprisingly quick, and it has a guide fence on the side to help create consistently centered holes.
The split clip rings that hold everything together are easy to find in 1″ or 2″ sizes, but the ones that typically ship in a Col-O-Ring are 1.5″, and if you’re looking for consistency with your existing booklets, they’re worth tracking down. These are one of those weird thing that you can buy a pack of 20 rings for $5 or buy a pack of 150 rings for $10.
I always make covers for the new swatch rings out of the covers of the source notebook cover. This works really nicely with Rhodia pads, but poorly for Tomoe River which doesn’t have a thick cover when purchased as loose paper (and Tomoe River branded notebooks are too expensive to cut to pieces, for me).

Drawbacks & Benefits
The two main problems with using these DIY swatch books is that (1) they’re time-consuming to make (and have a high initial cost) and (2) these papers generally do not stand up to heavy swabbing as well as thicker papers, so they’re likely to curl or warp. The curling is no big deal, for me, and the fact that they’re lighter weight paper provides useful information about whether an ink will bleed through common papers.

The benefits of this format are pretty simple: you can quickly and easily re-arrange the ink swatches (as opposed to being stuck in a full-sized notebook) and you can remove easily remove them from the binder to compare them side-to-side with other swatches. And of course, with these DIY booklets, you can compare the different ways that an ink responds to different papers. With some inks there’s hardly any difference at all, but with others, it can be pretty dramatic.
Questions? Comments?
Let me know in the comment section below!
